


"The Zone" Blog 04: A Bridge Over Troubled Waters

Entry posted by DaveLee ·
3,549 views
Welcome to another installment of “The Zone” level design blog. Today I’ll be detailing what has been going on since the last blog post, which includes some new and imported assets as well as some significant changes to the level design in the Editor. I implemented the new SSDO that Josh posted recently, and redid the lighting based off of a few tips he suggested. The main sunlight is a white-orange, and a very dark blue-gray ambient light is used to lighten the shadows and balance the lighting. I posted my current SSDO settings at the end of the blog post if you are interested in seeing them.
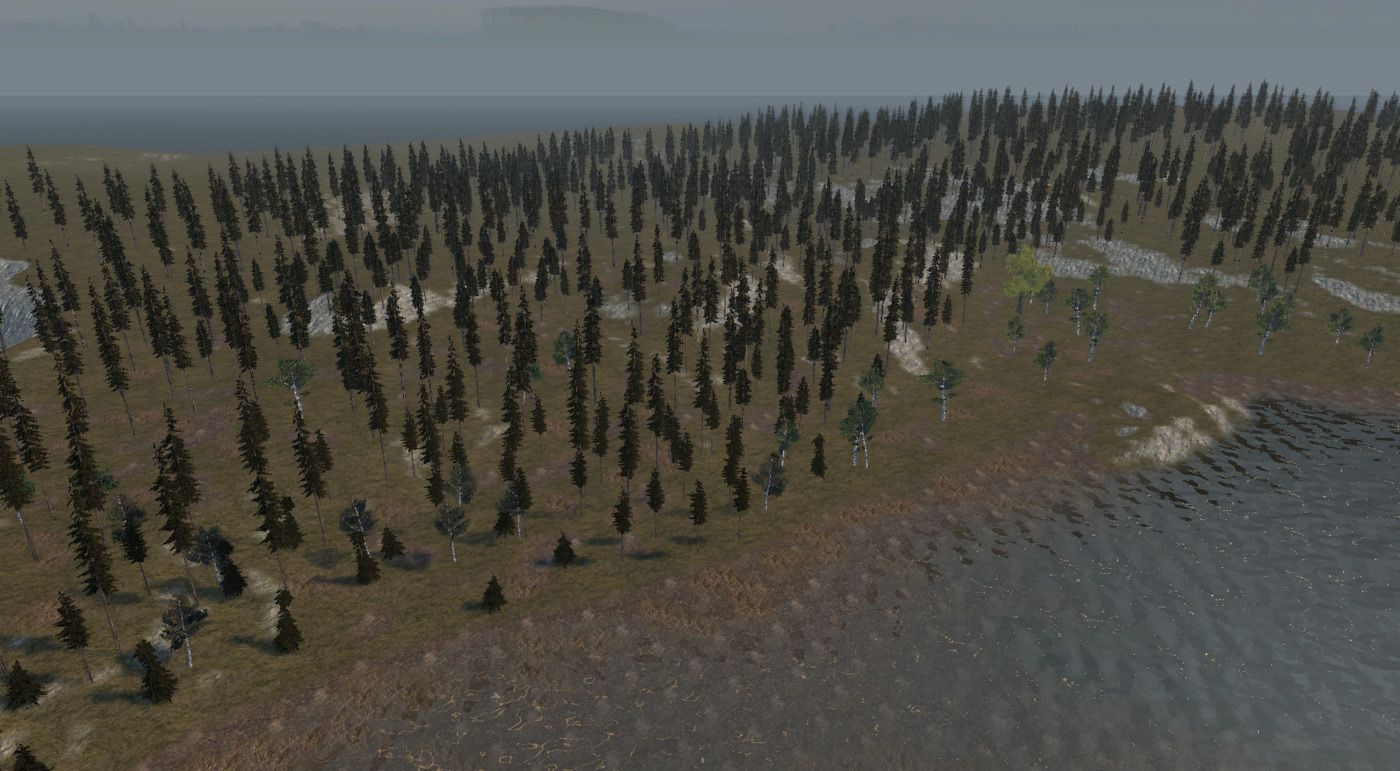
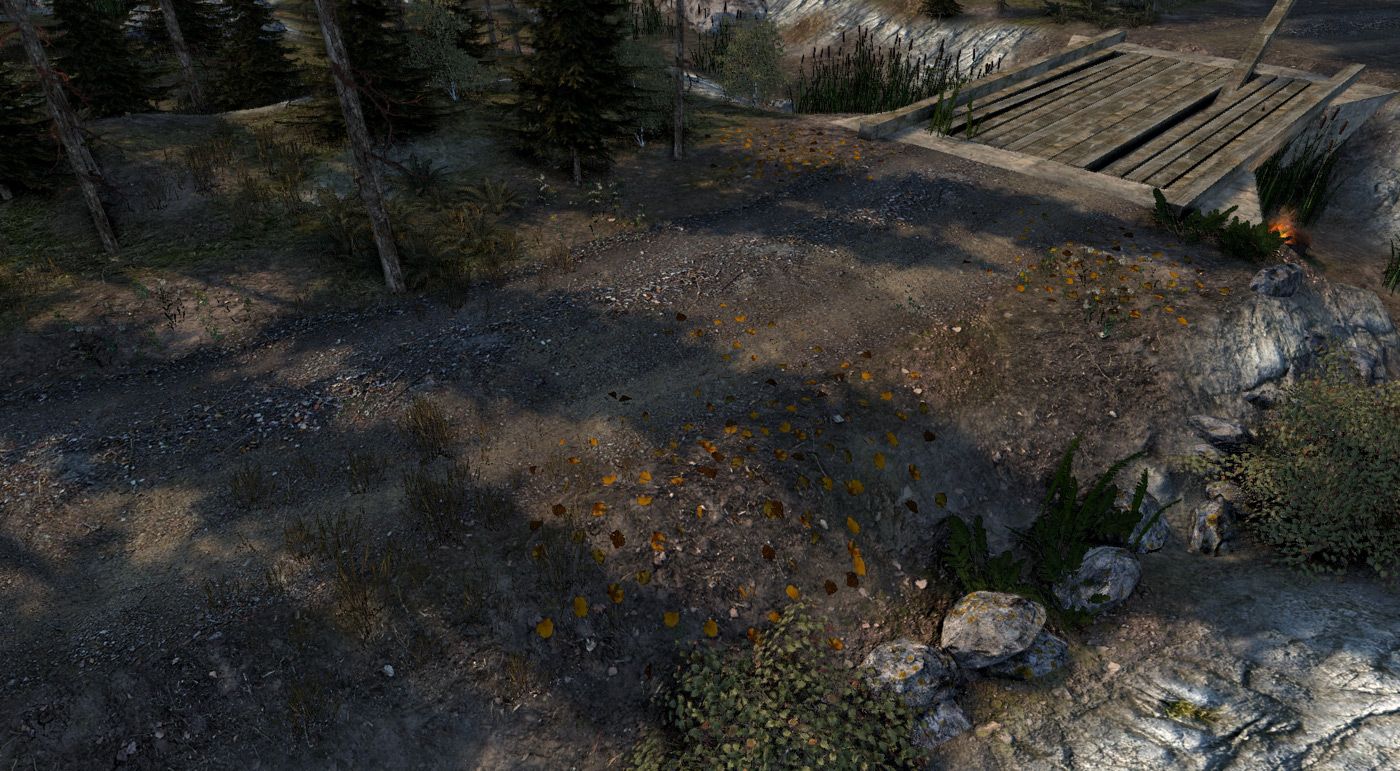
To start this entry off, here are several overview images of the level. As you can see, the placeholder vegetation is gone and I have begun to populate the level with vegetation created by Pure3D. If you have been thinking about buying some of their vegetation packs, I would highly recommend them! The roadside pegs and yield sign are also by Pure3D. Check out these images for some examples (note that not all vegetation placement is final):
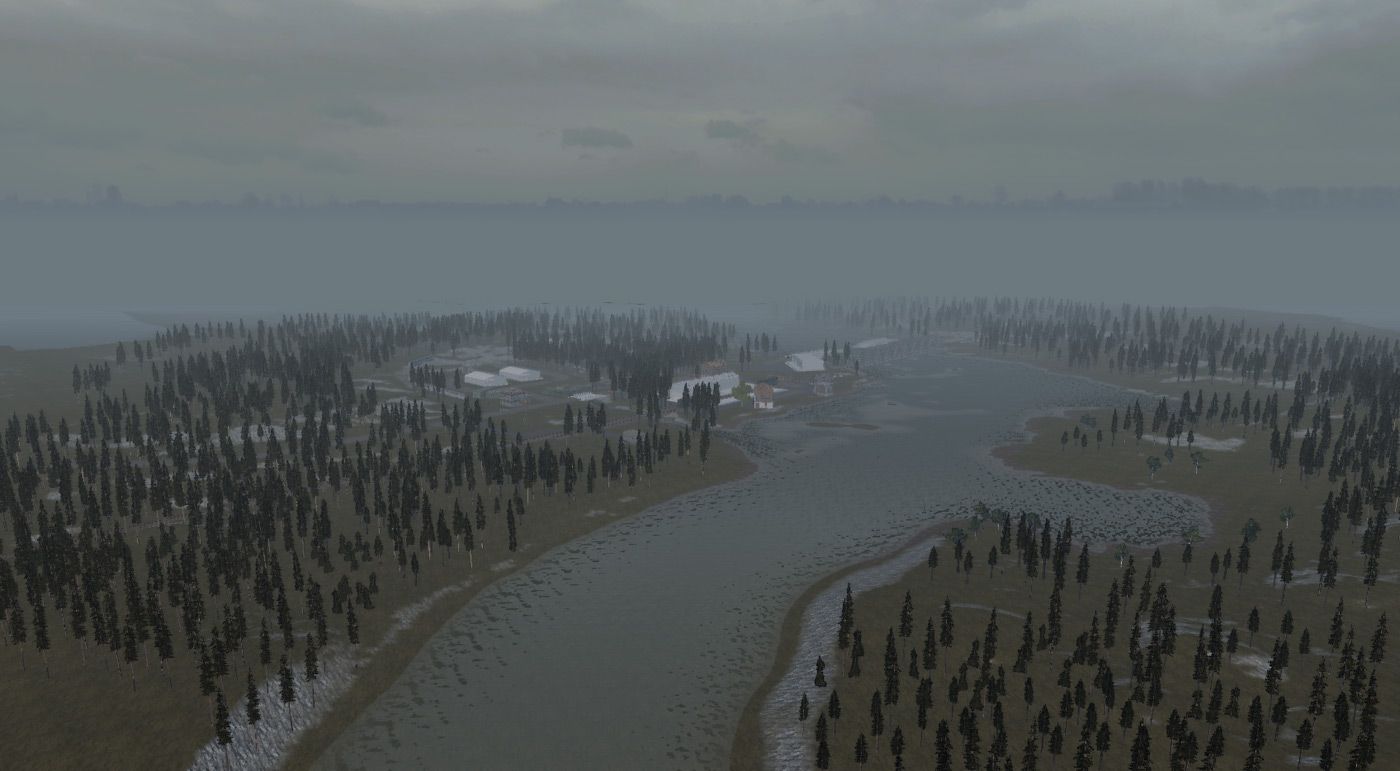

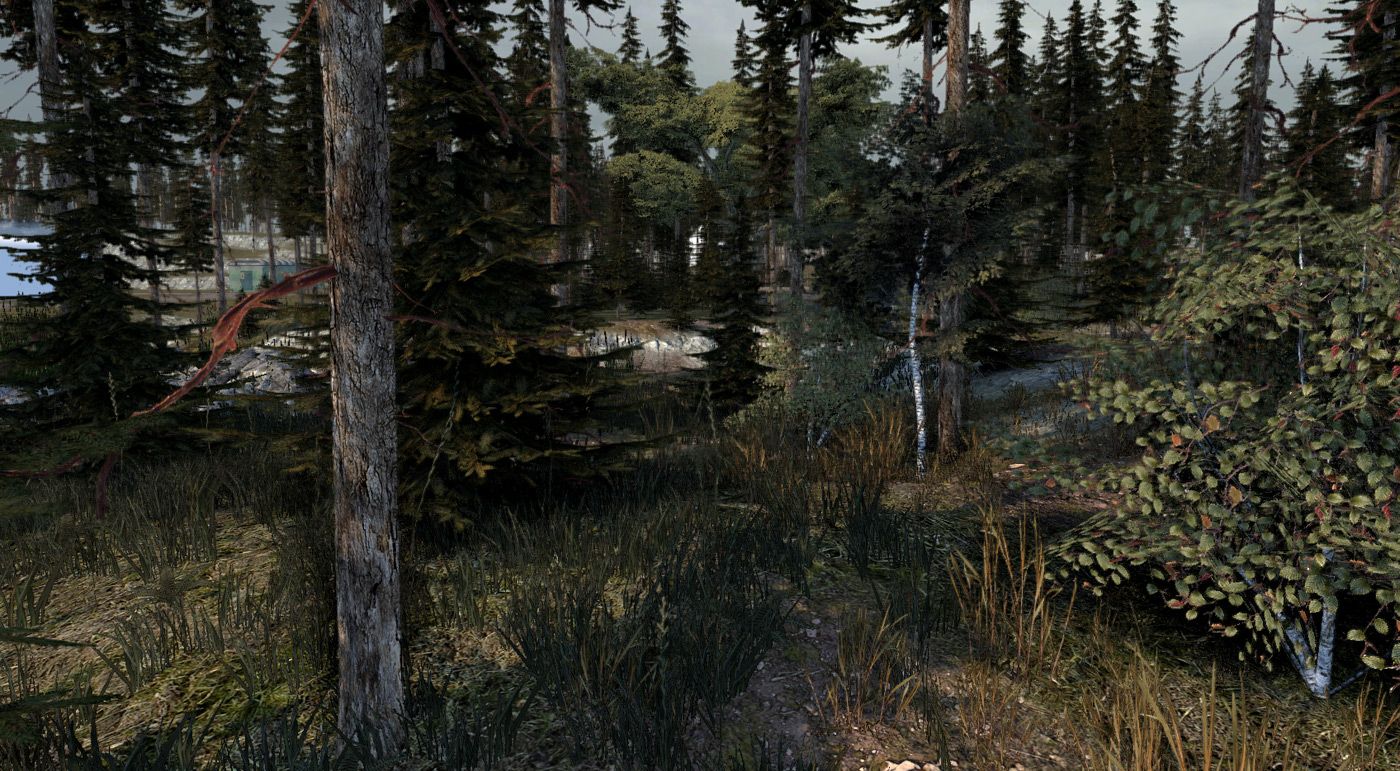
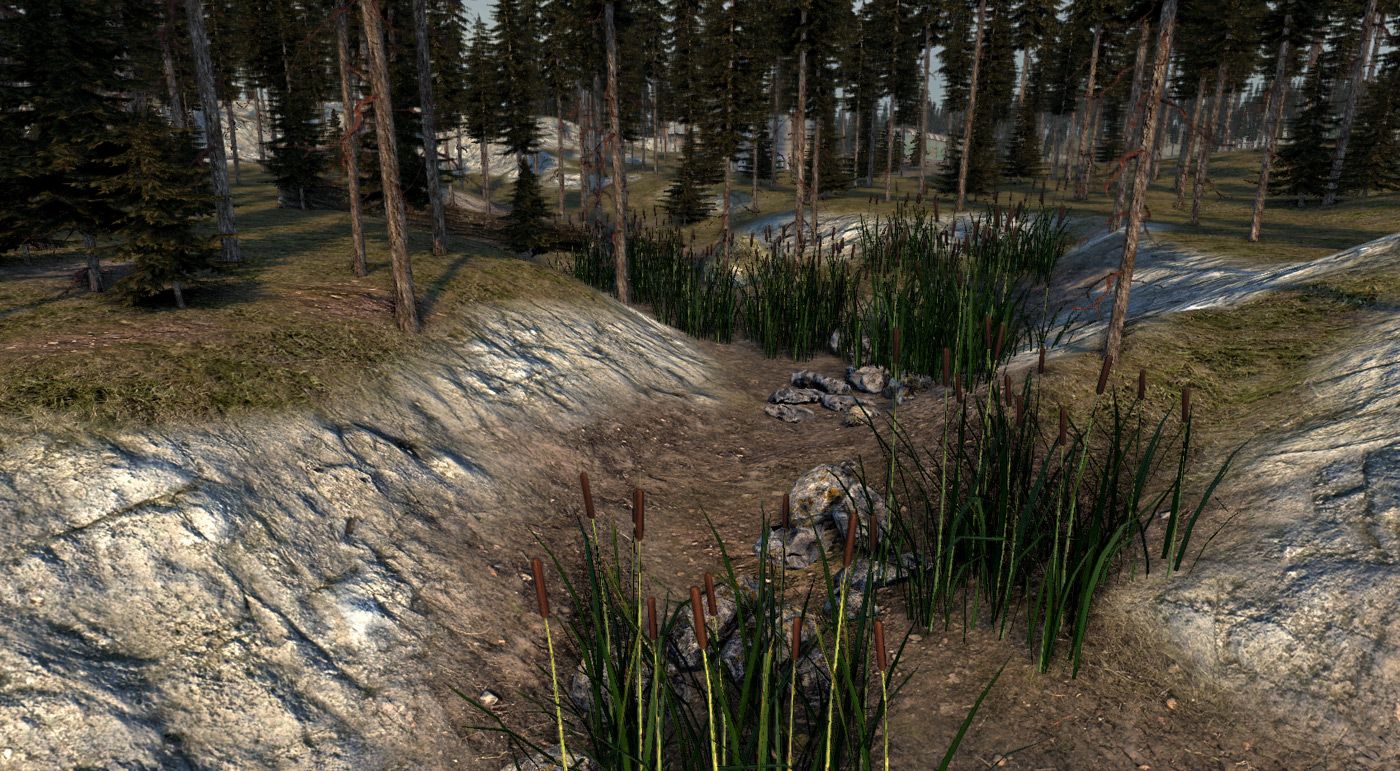

I also used the Fill option under my cliff side texture to auto-fill all areas of the map with a slope greater than 7 degrees. If there are areas above 7 degrees that I want to paint with another texture I can do so, but as you can see from these screenshots using the fill tool helped me to automatically create some interesting texture work for me to build off of. I have also deleted all terrain that isn't visible from the "play area" to save resources.
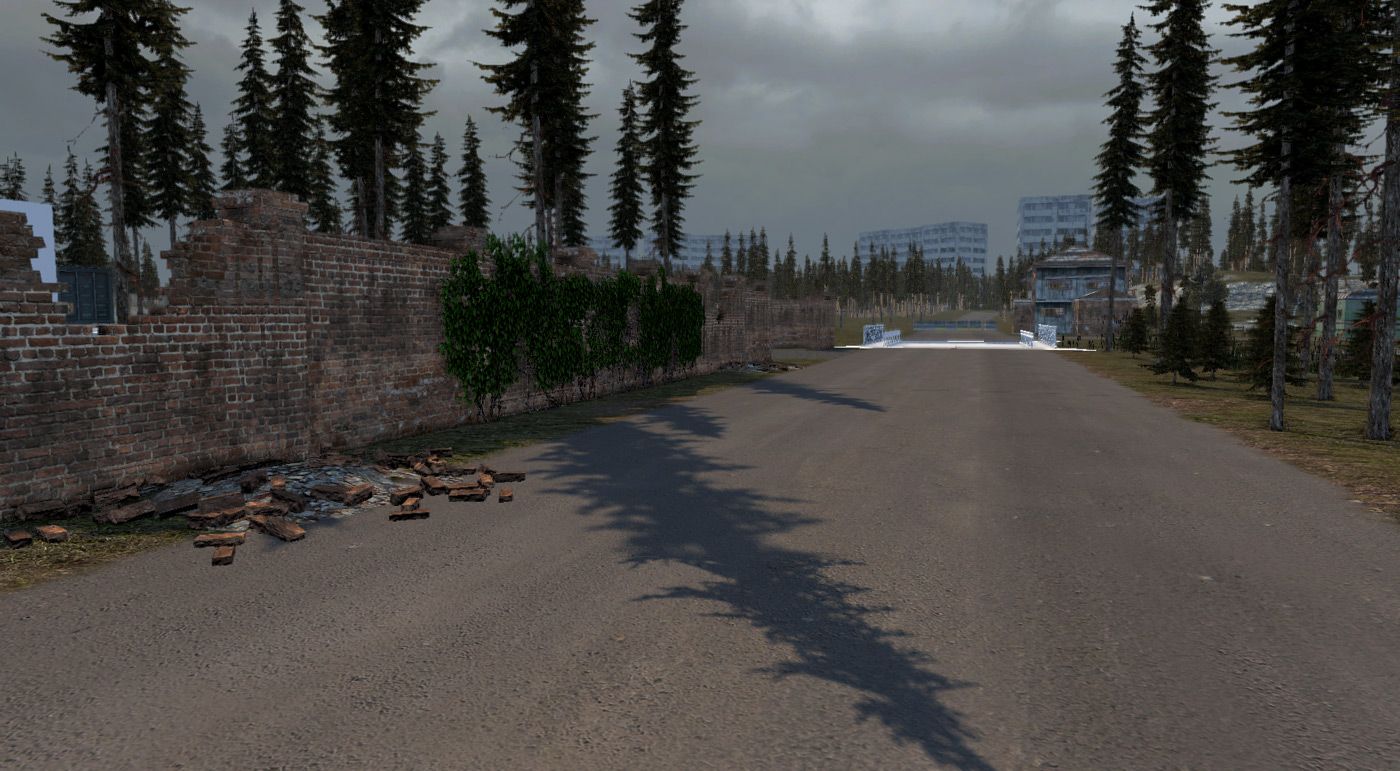
The first of several new dirt road textures is now complete and in game. The first image of the road also shows one of the new radiation warning signs. These signs are placed both on the borders of the Zone as well as areas of extremely high radiation.

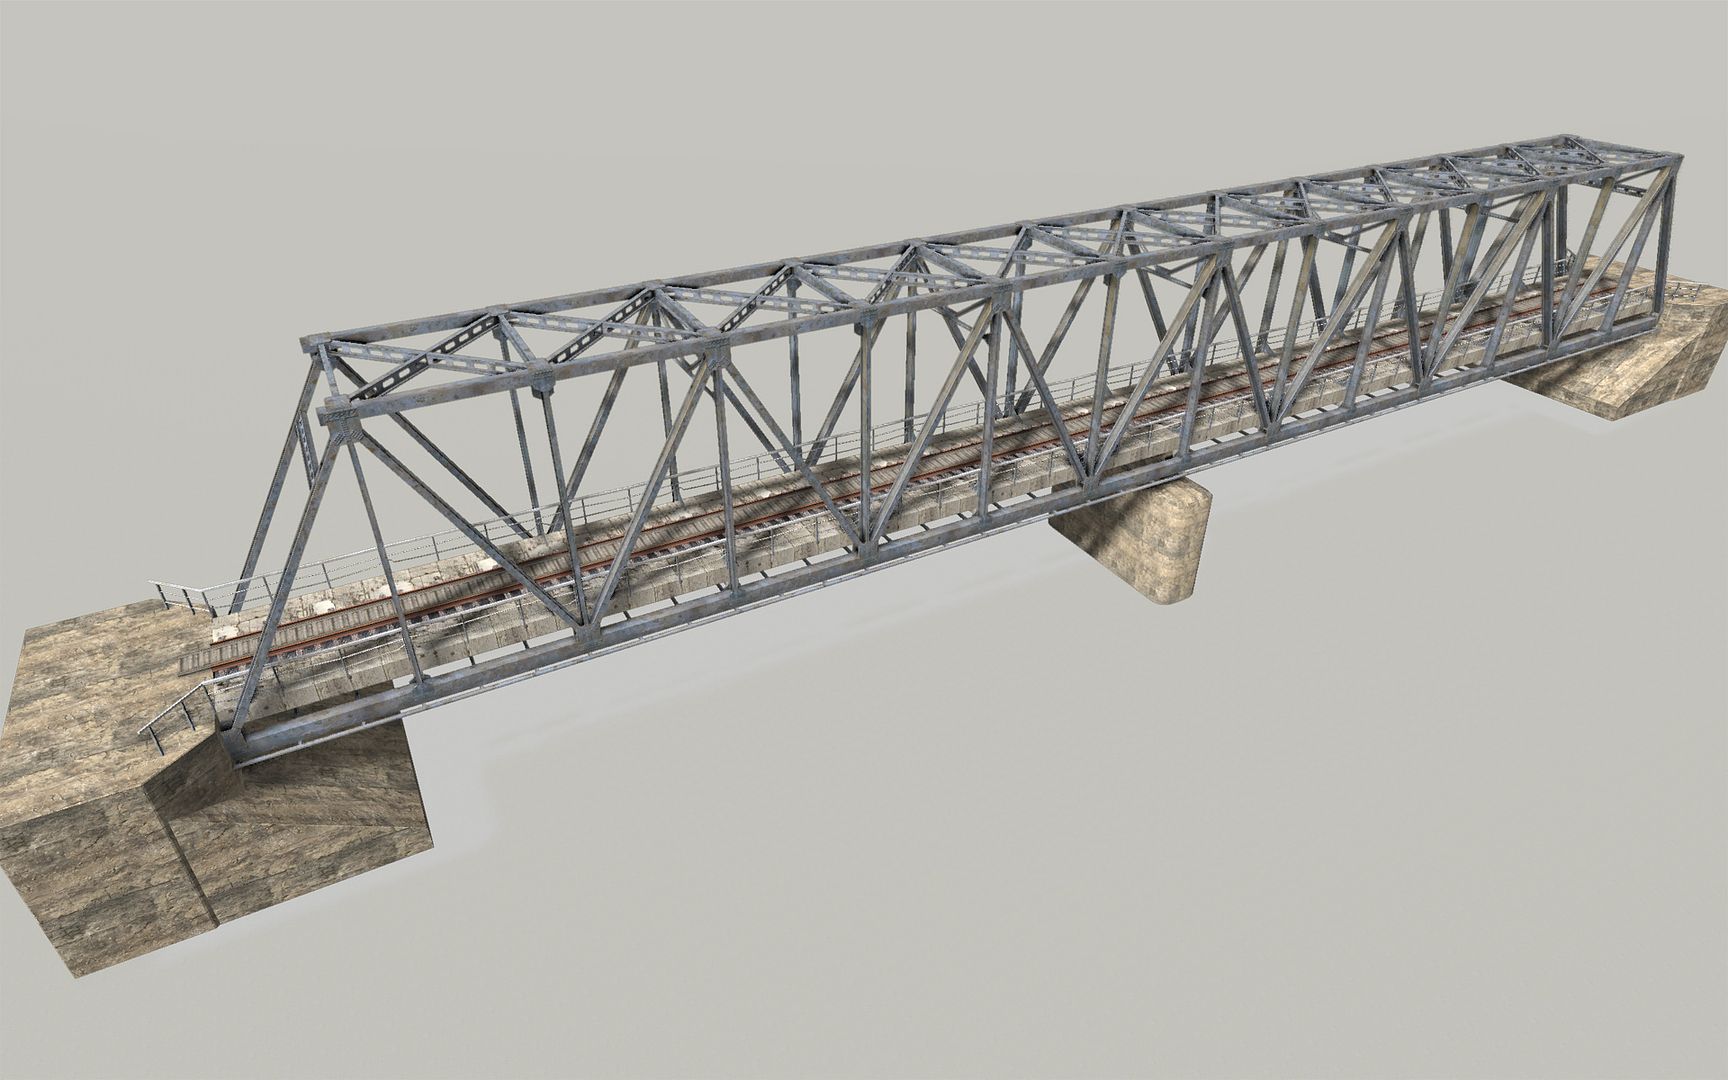
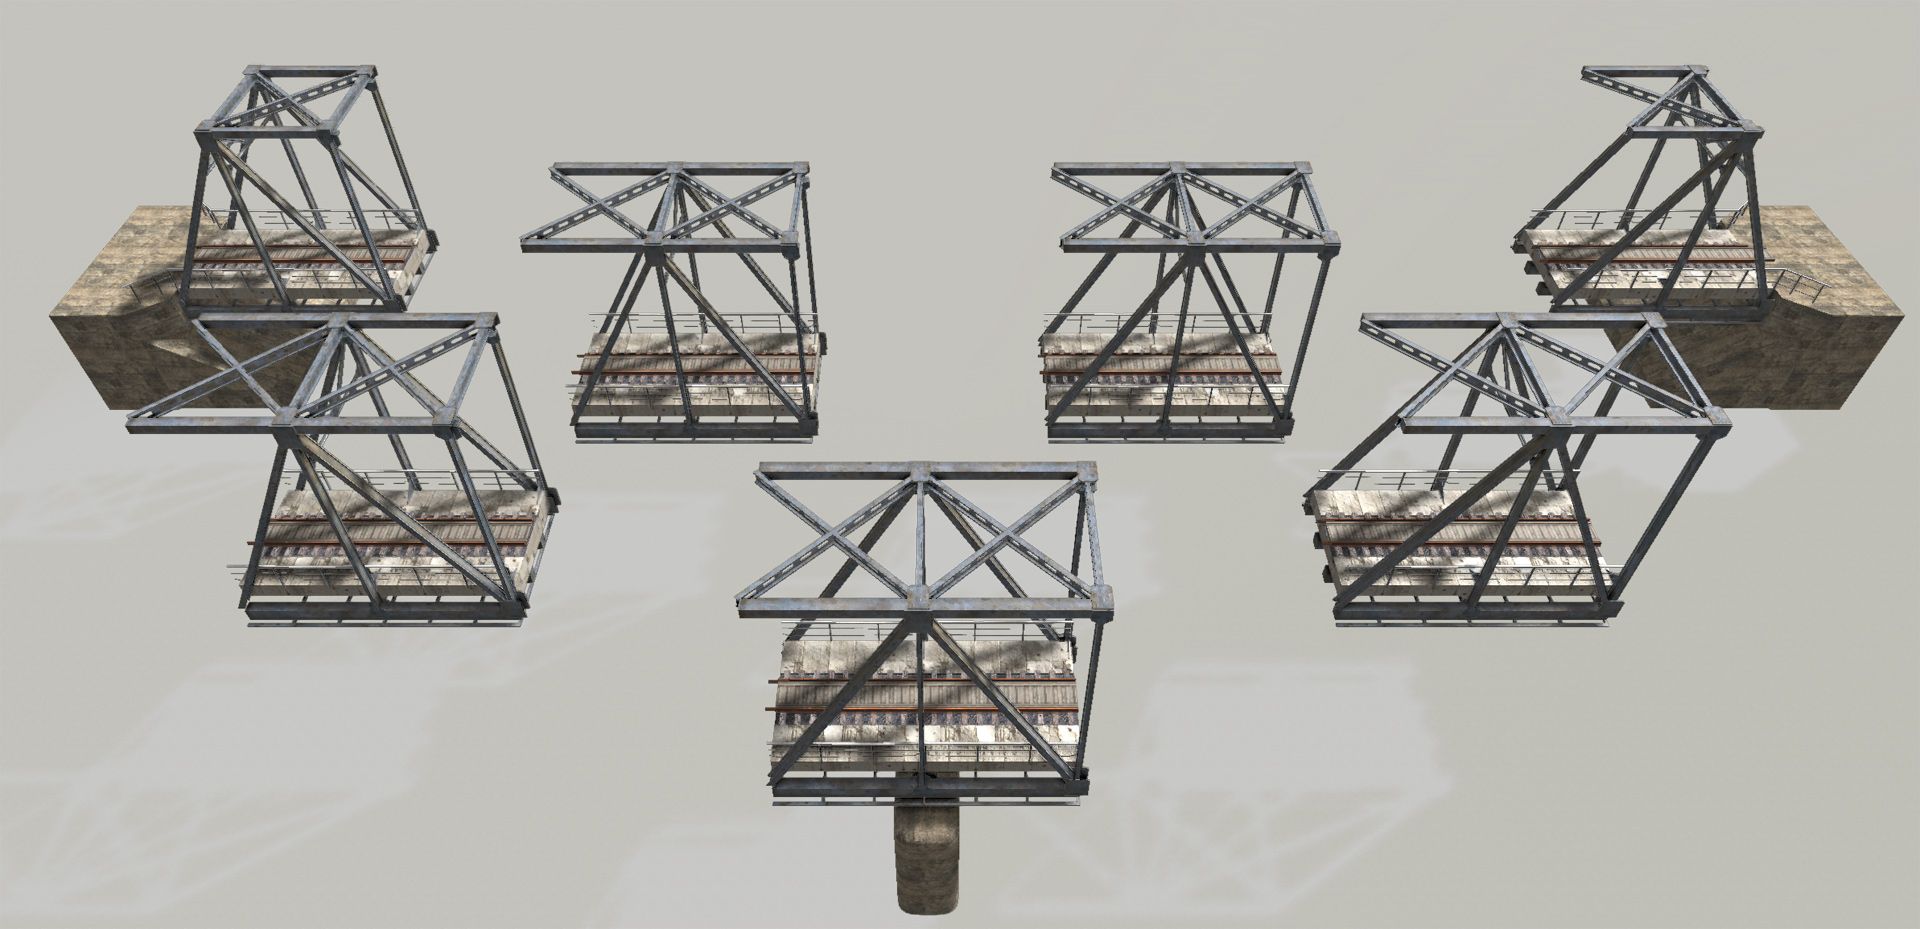
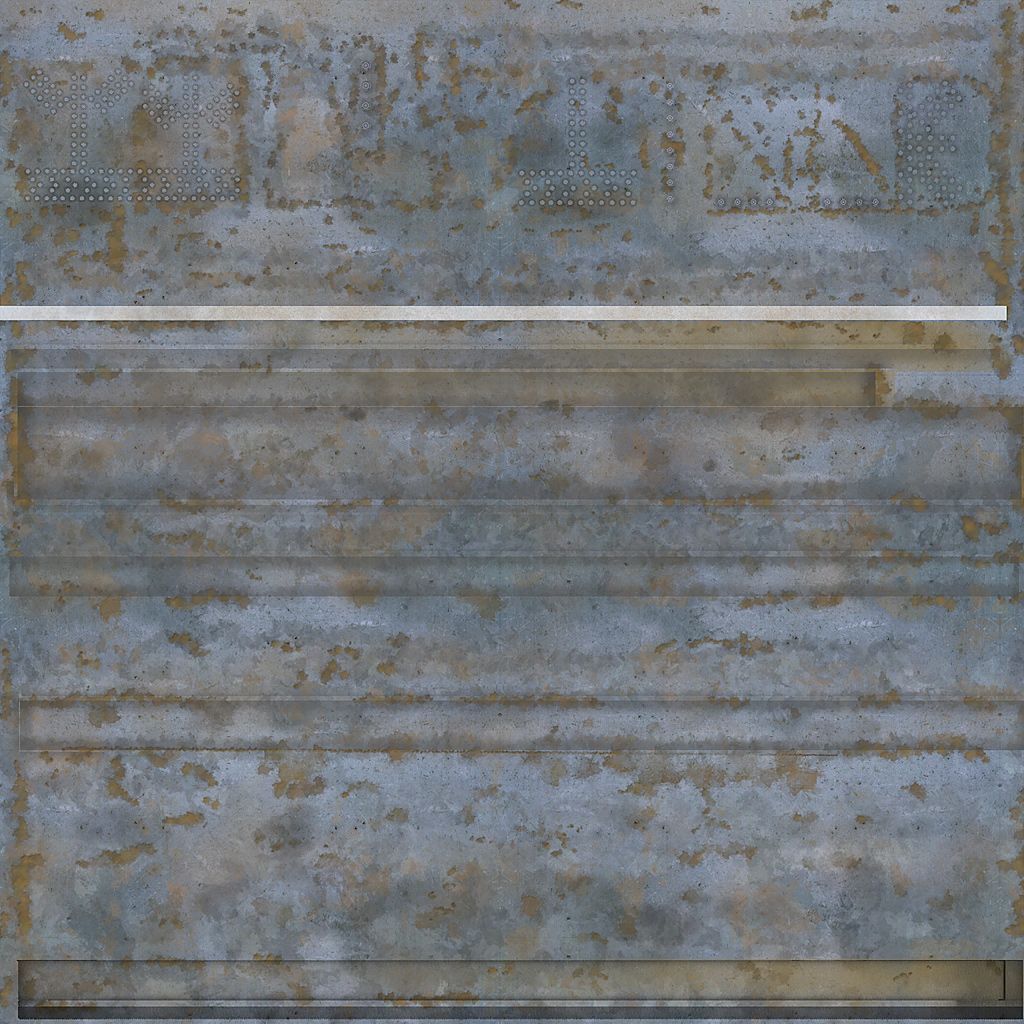
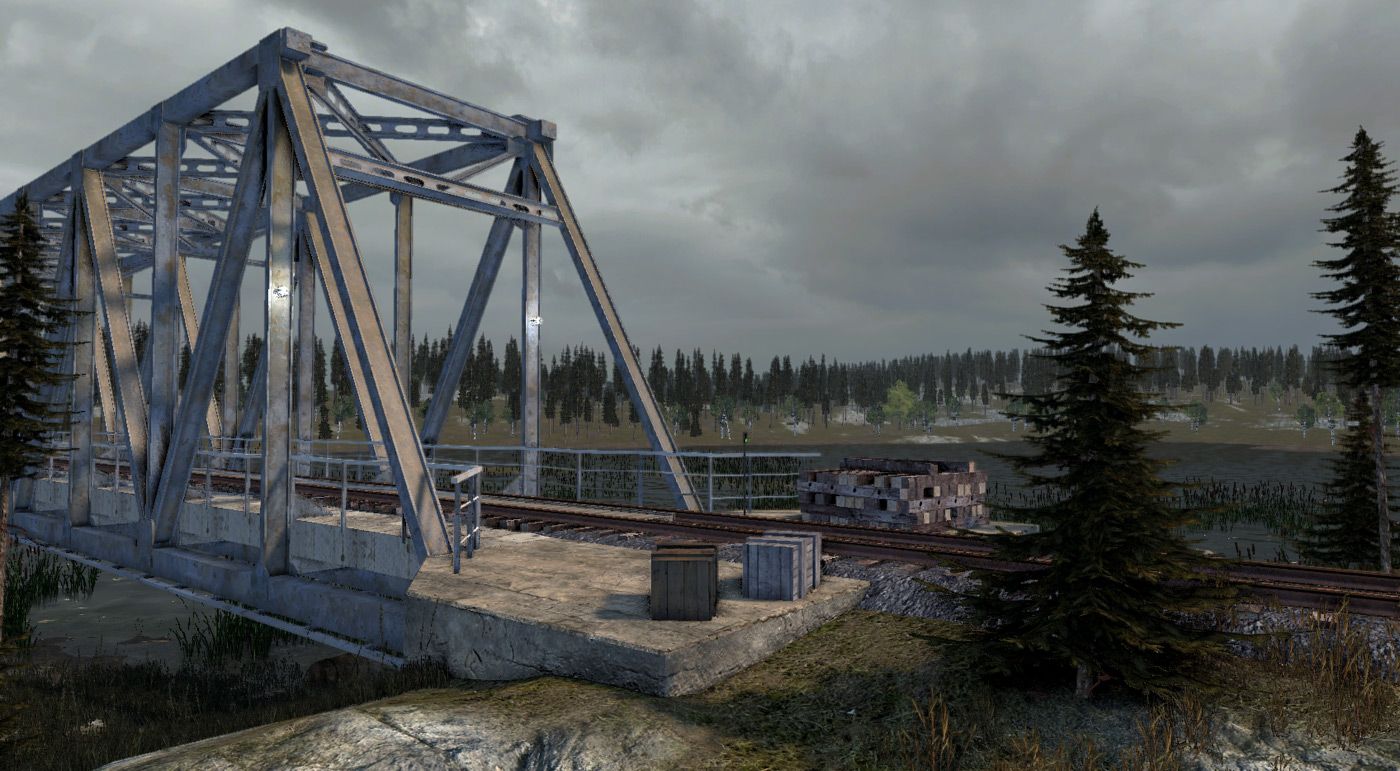
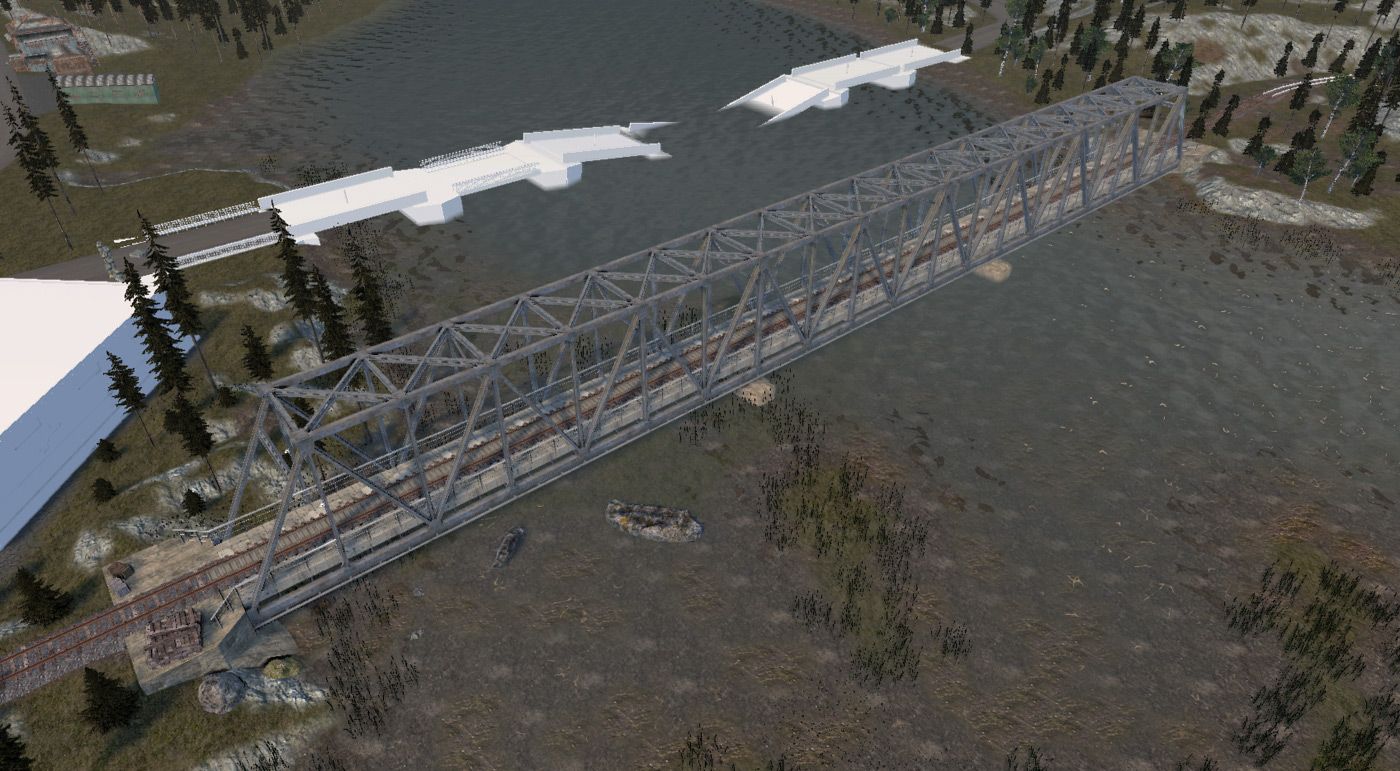
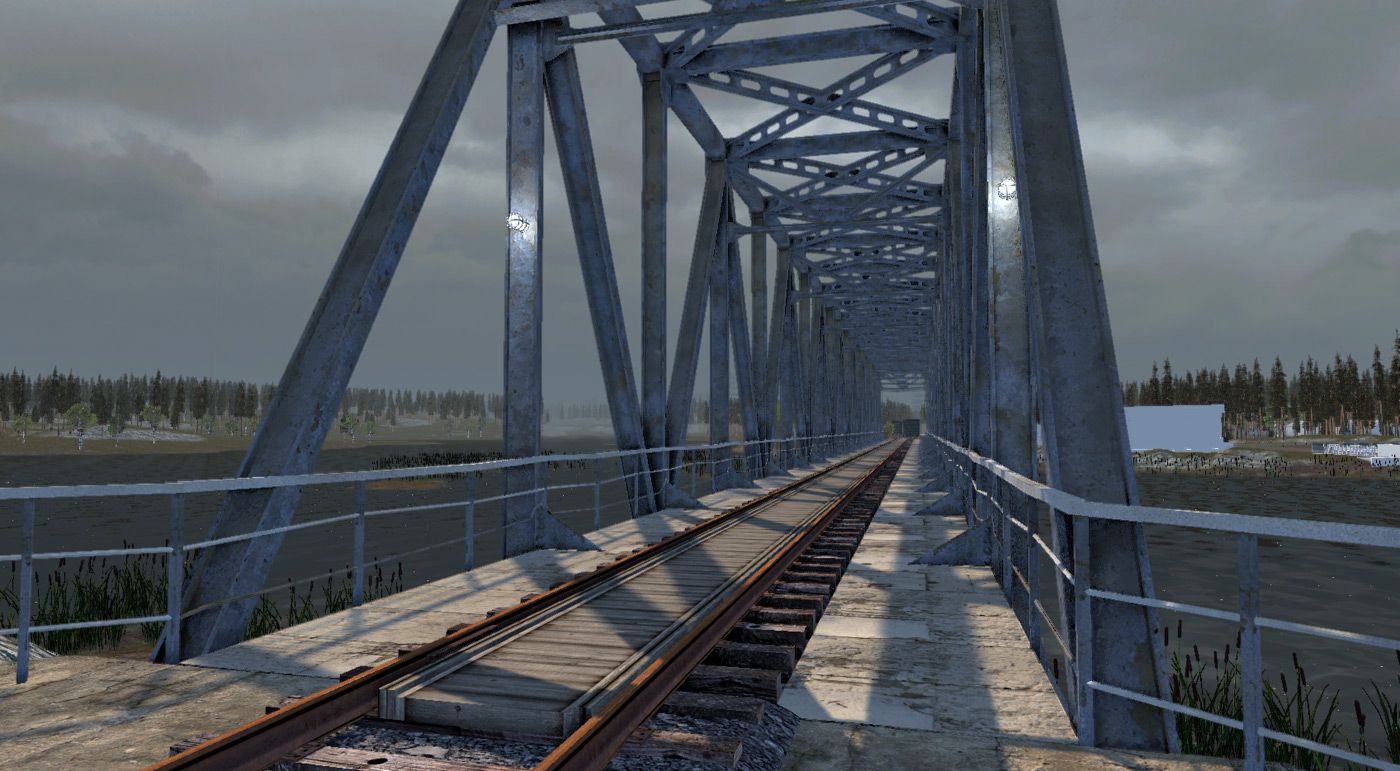
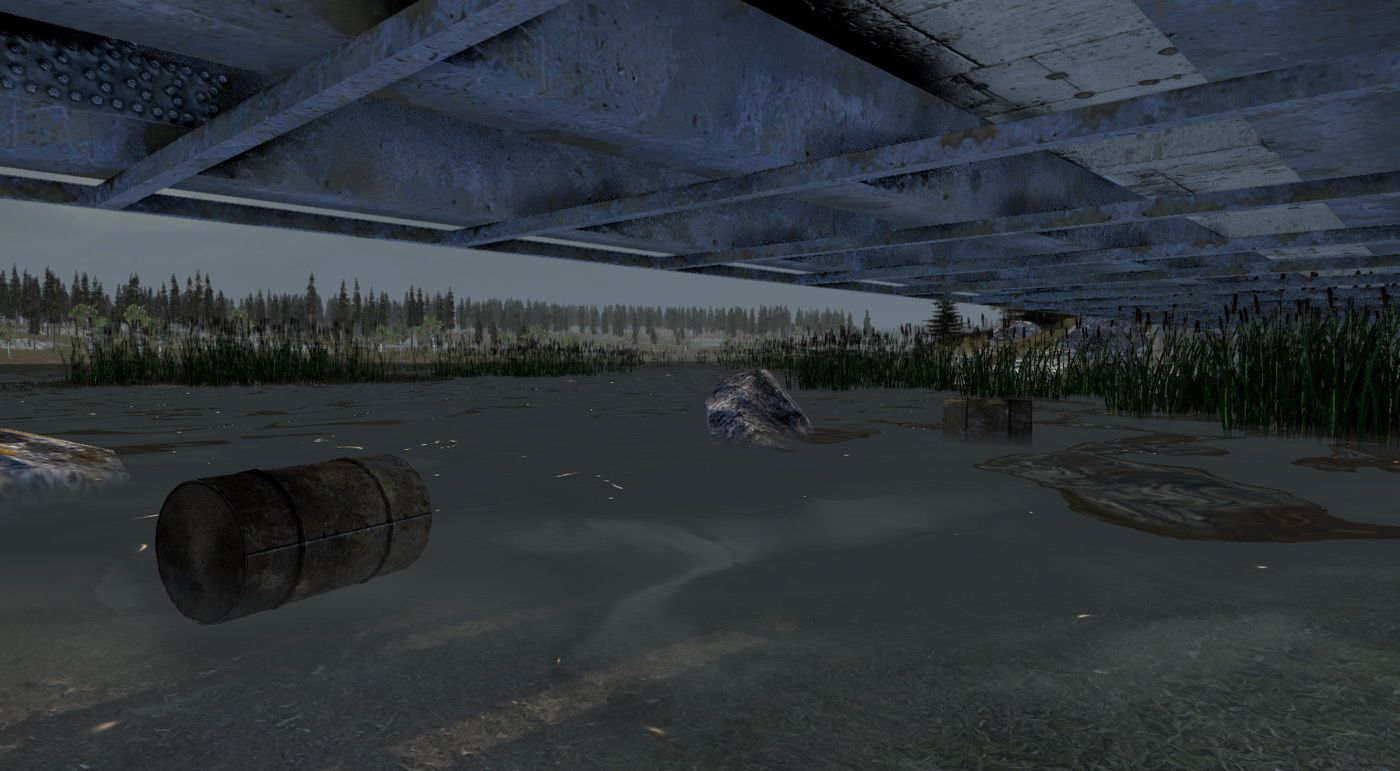
The railroad bridge first seen in the last blog post has now been fully modeled and textured as well. I created high-poly bolts and baked them into the normal map and used a WACOM tablet to hand paint most of the diffuse texture. The first two images are large in-engine captures that show an overview of an assembled and disassembled bridge. Theoretically, the bridge can be made to fit any length that you need. I'm also showing a re-sized (1024x1024px) version of the bridge's diffuse texture - the full size is 2048x2048.

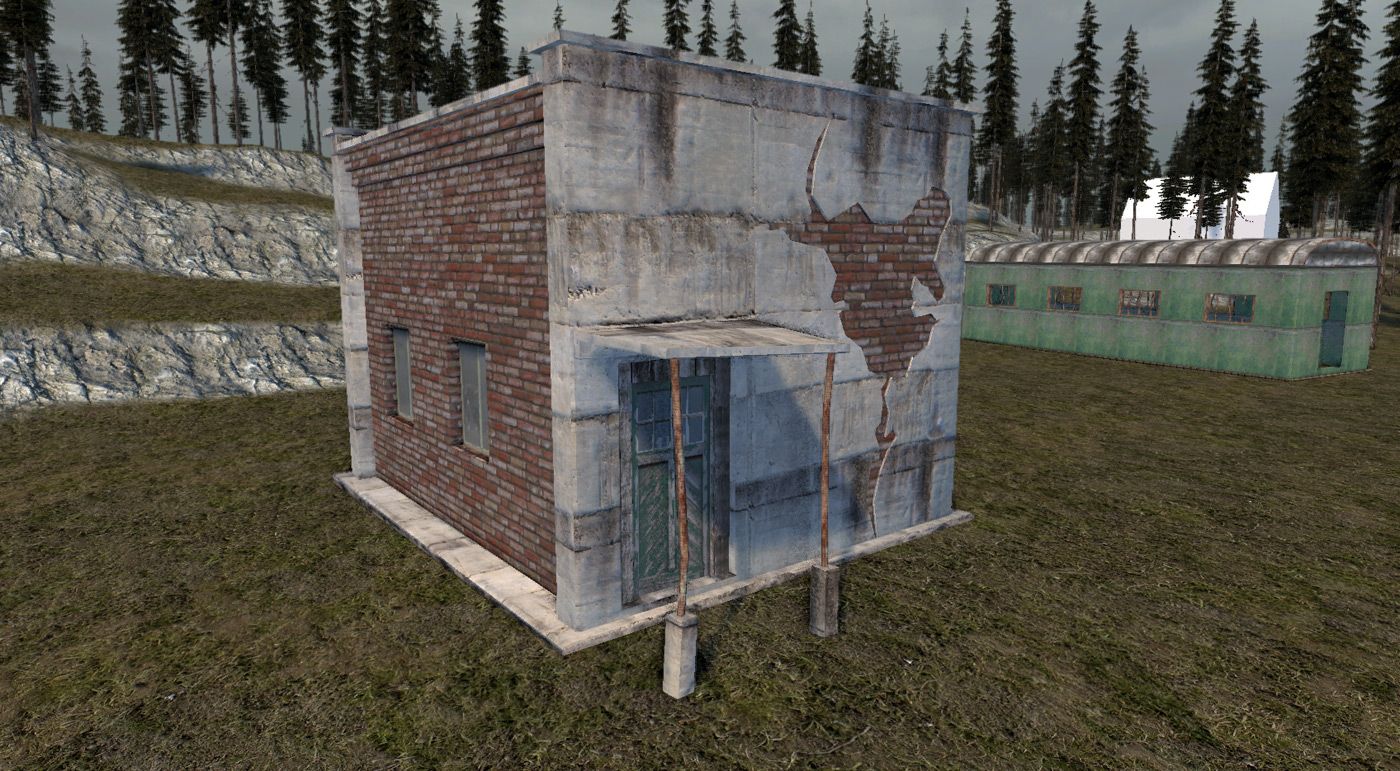
Besides the railroad bridge in the “new assets” department this week, I also have a small outbuilding. This is another background building without an interior (expect a full building in a blog post soon!):
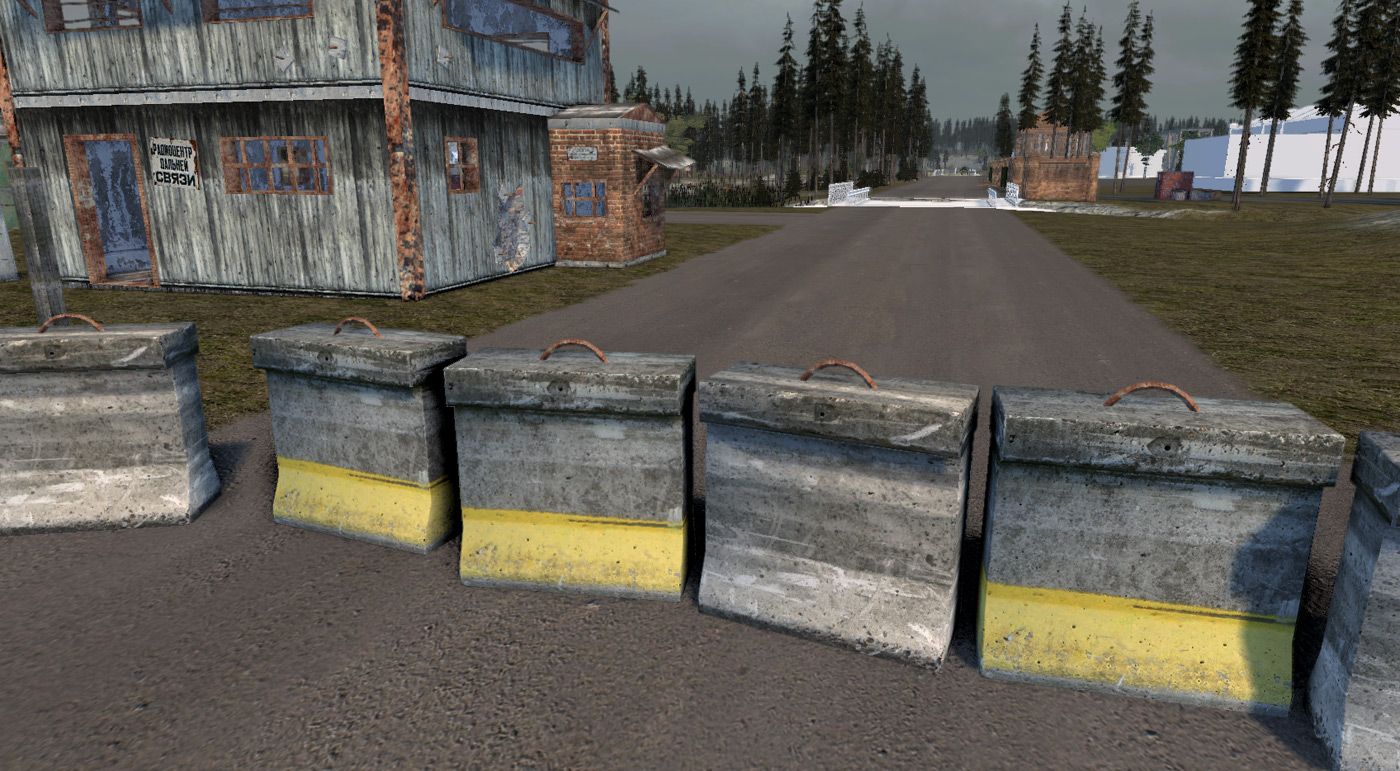
Some road barricades have been completed as well, with damaged versions to come:
Finally, as you may have picked out from the first few images in this post, I have created a few low-poly background buildings for this map:
And that wraps up blog post #4. If you have anything you would like to see in the next update, or if you have any suggestions be sure to mention it in the comments!
SSDO Settings:
#define aointensity 6.0         // between 1 and 5 is good
#define aointensitydiv 2.5
#define aofalloff .35
#define aosamples 8                     // dont change
#define aopass 4                        // 4 * aopass = samples
#define aocut 0.6
#define aosize 0.5
#define aoscreenlocked 0                // enable this for screen locked AO
...
               #define raycasts 6//Increase for better quality
               #define raysegments 8//Increase for better quality
               #define aoscatter 0.5
               float raylength = 0.5;//*dist*1.0*50.0;
               float cdm = 1.0;// * dist * 50.0;
8 Comments
Recommended Comments